Installing Emulators in Android Studio
Installing Android Emulators
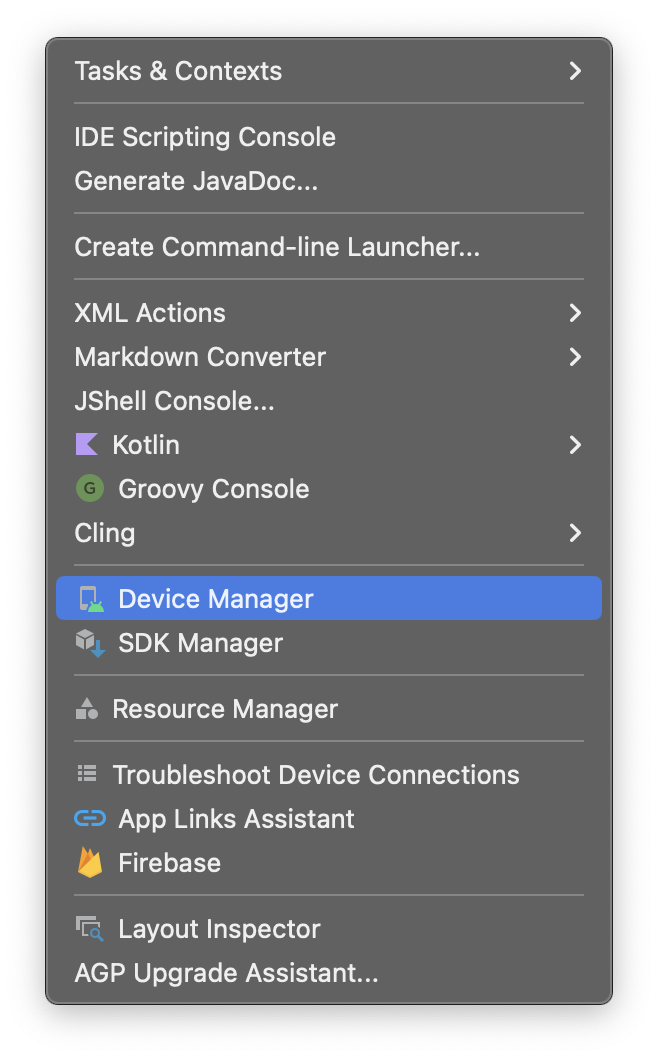
Under the Tools menu select Device Manager
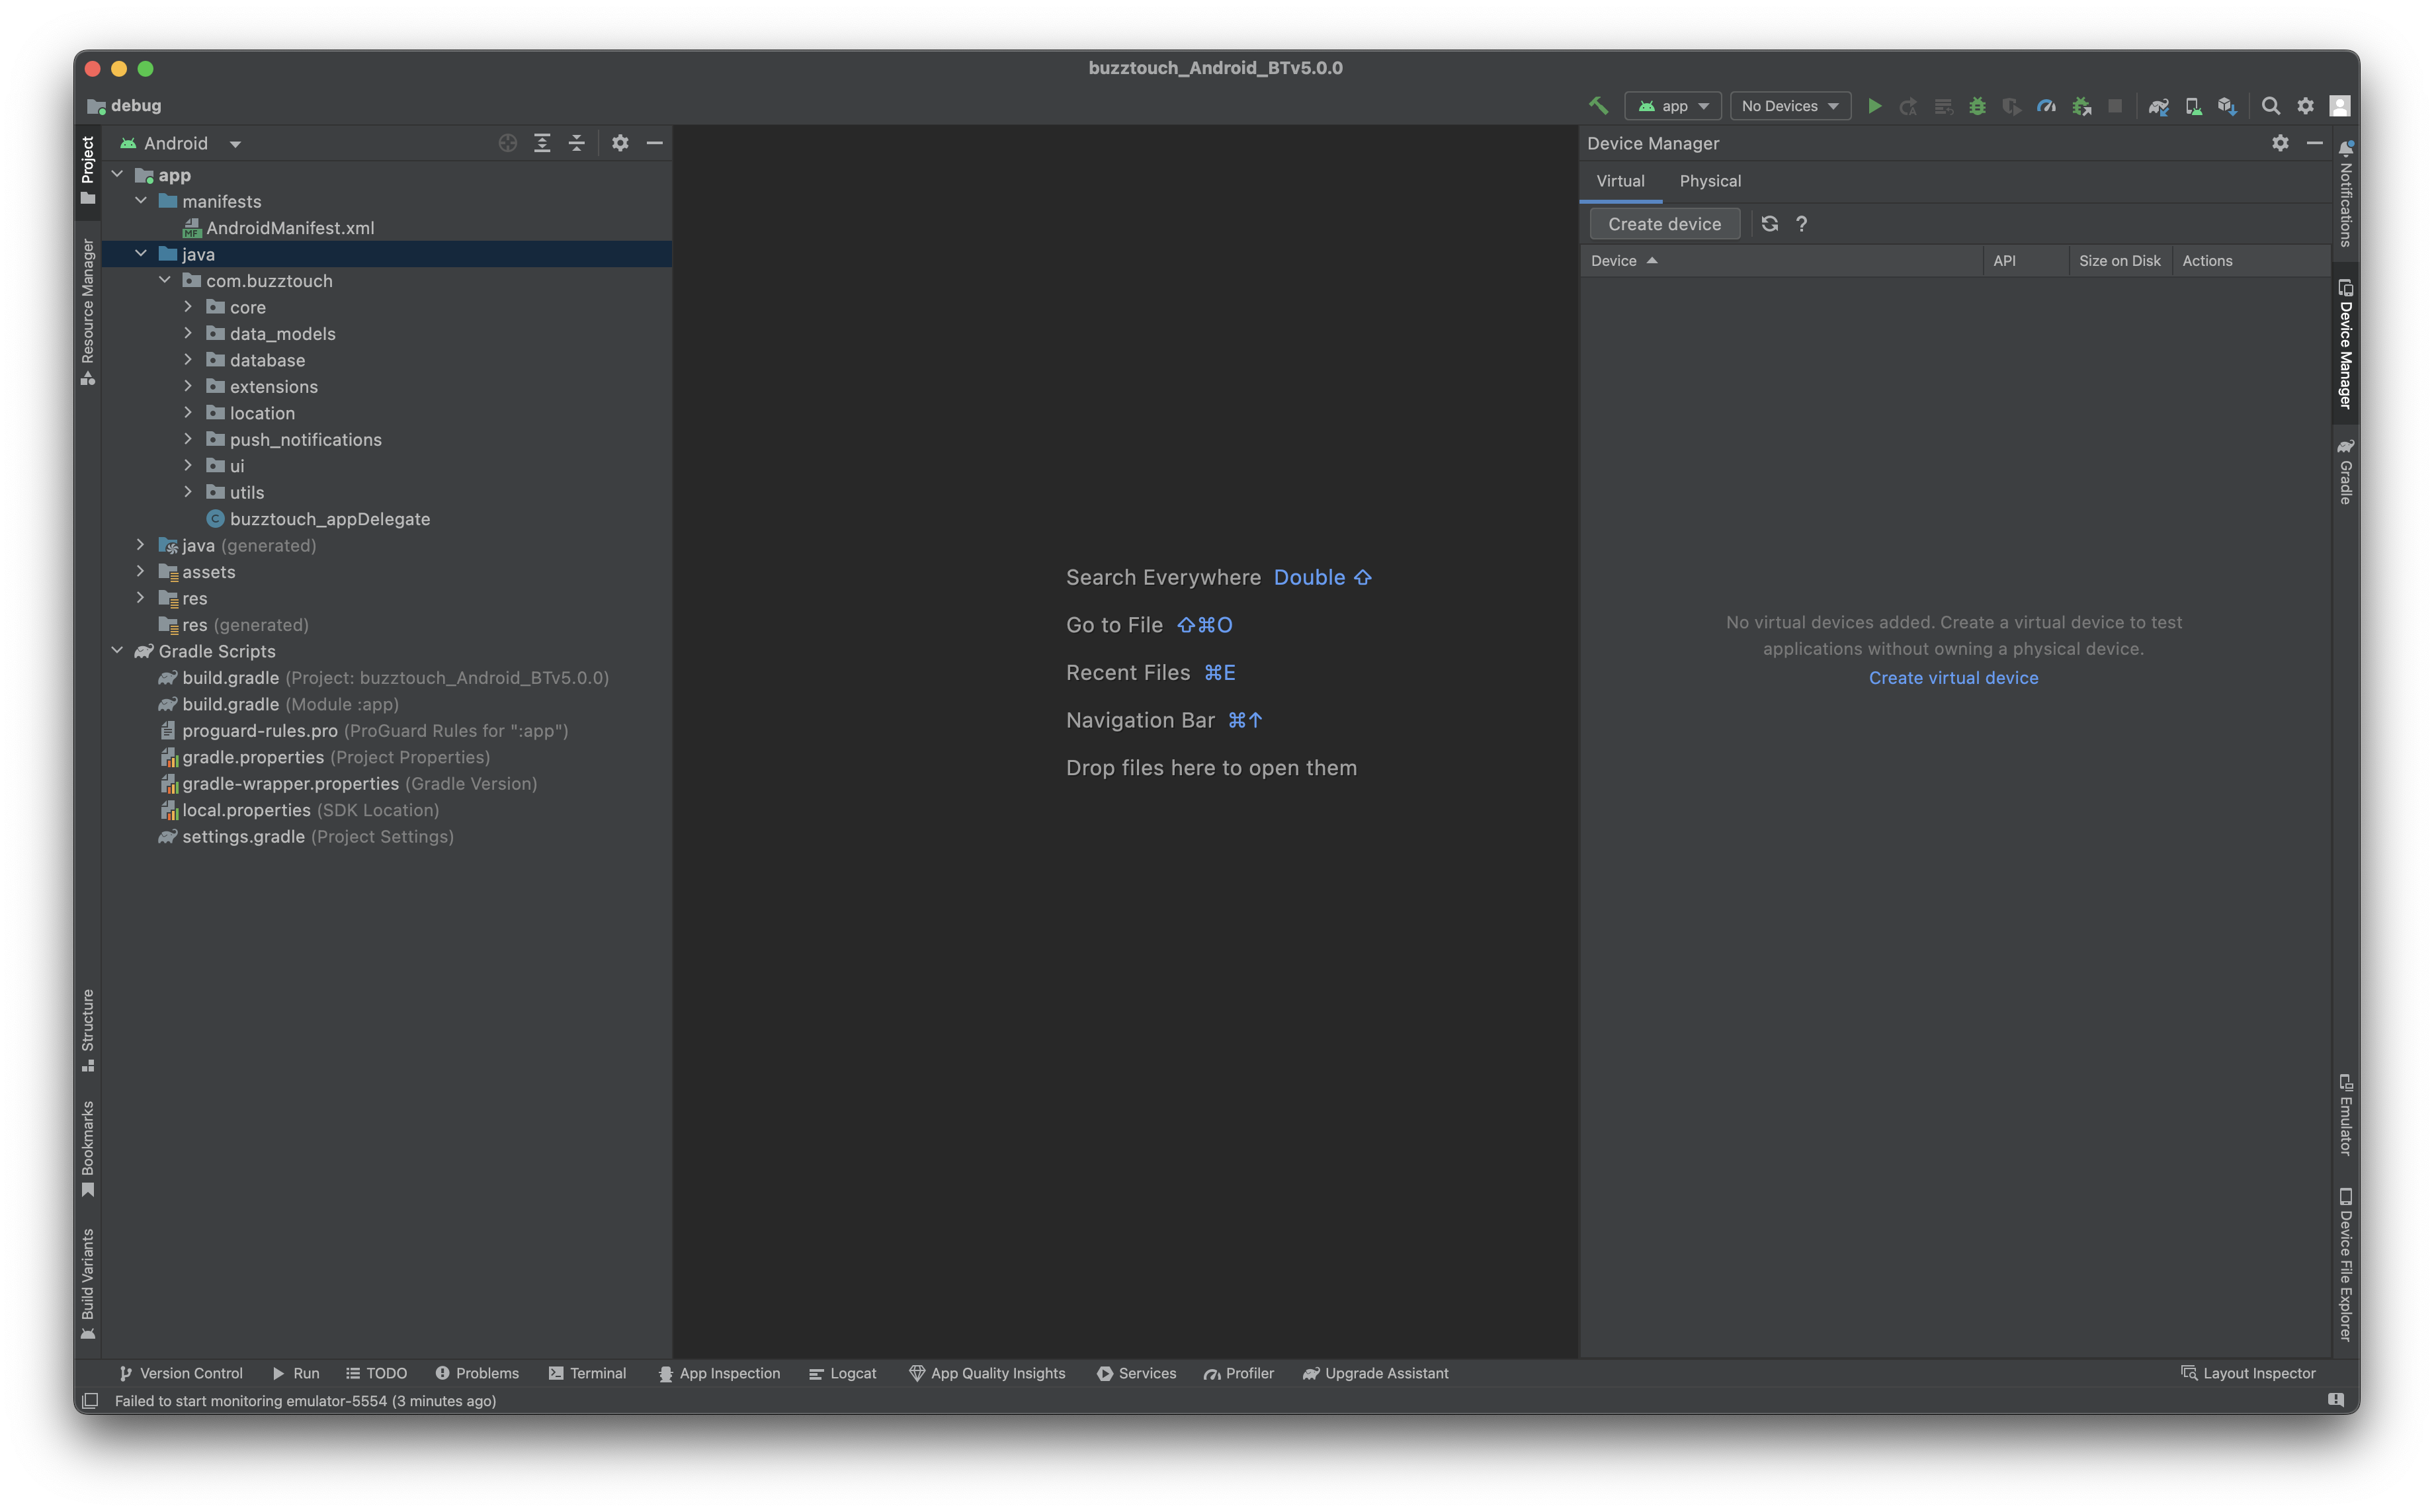
In the sidebar pane that opens, click the Create device button.
The Virtual Device Configuration window will open.

In this case, In this example, we chose the Pixel 6 Pro. Click Next to begin installation.
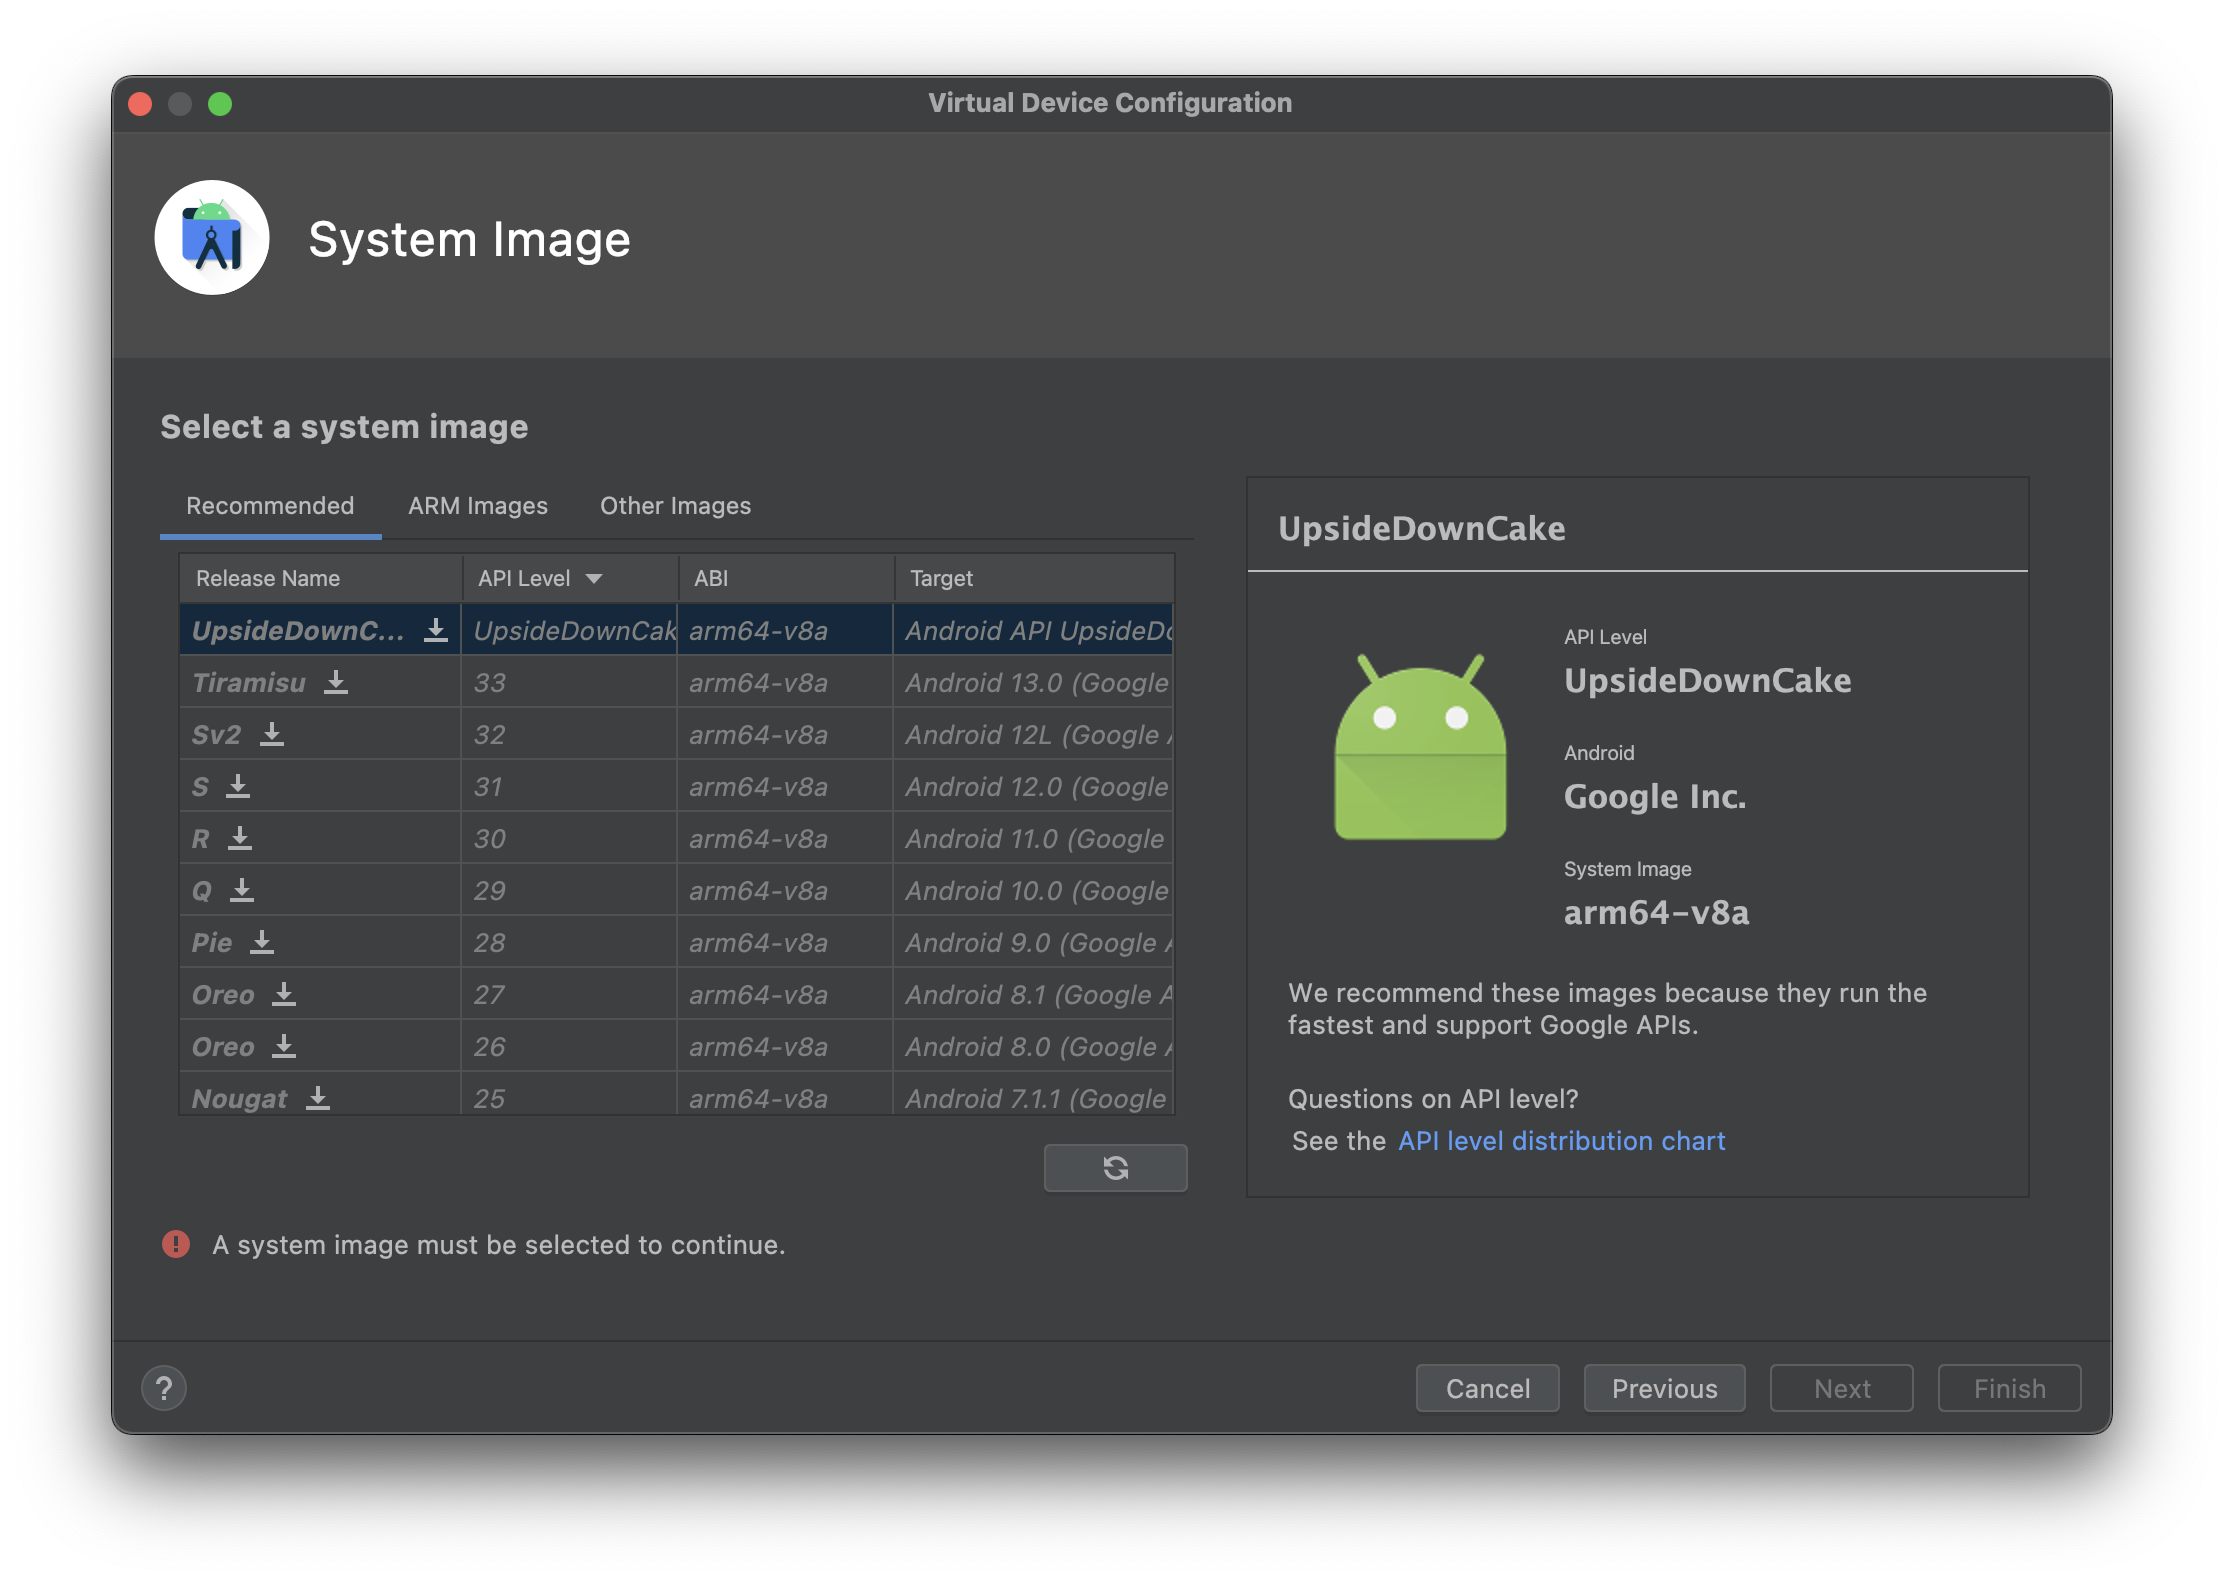
Android Studio will request you choose an System Image (operating system) to install on the Emulator. UpsideDownCake is currently the latest release, (you may want to pick a previous version such as Tiramisu if you aren’t comfortable modifying your gradle config). If the image is not installed you will not be able to click the Next button, instead click the download icon next to the Release Name. This will bring up the SDK Component Installer.
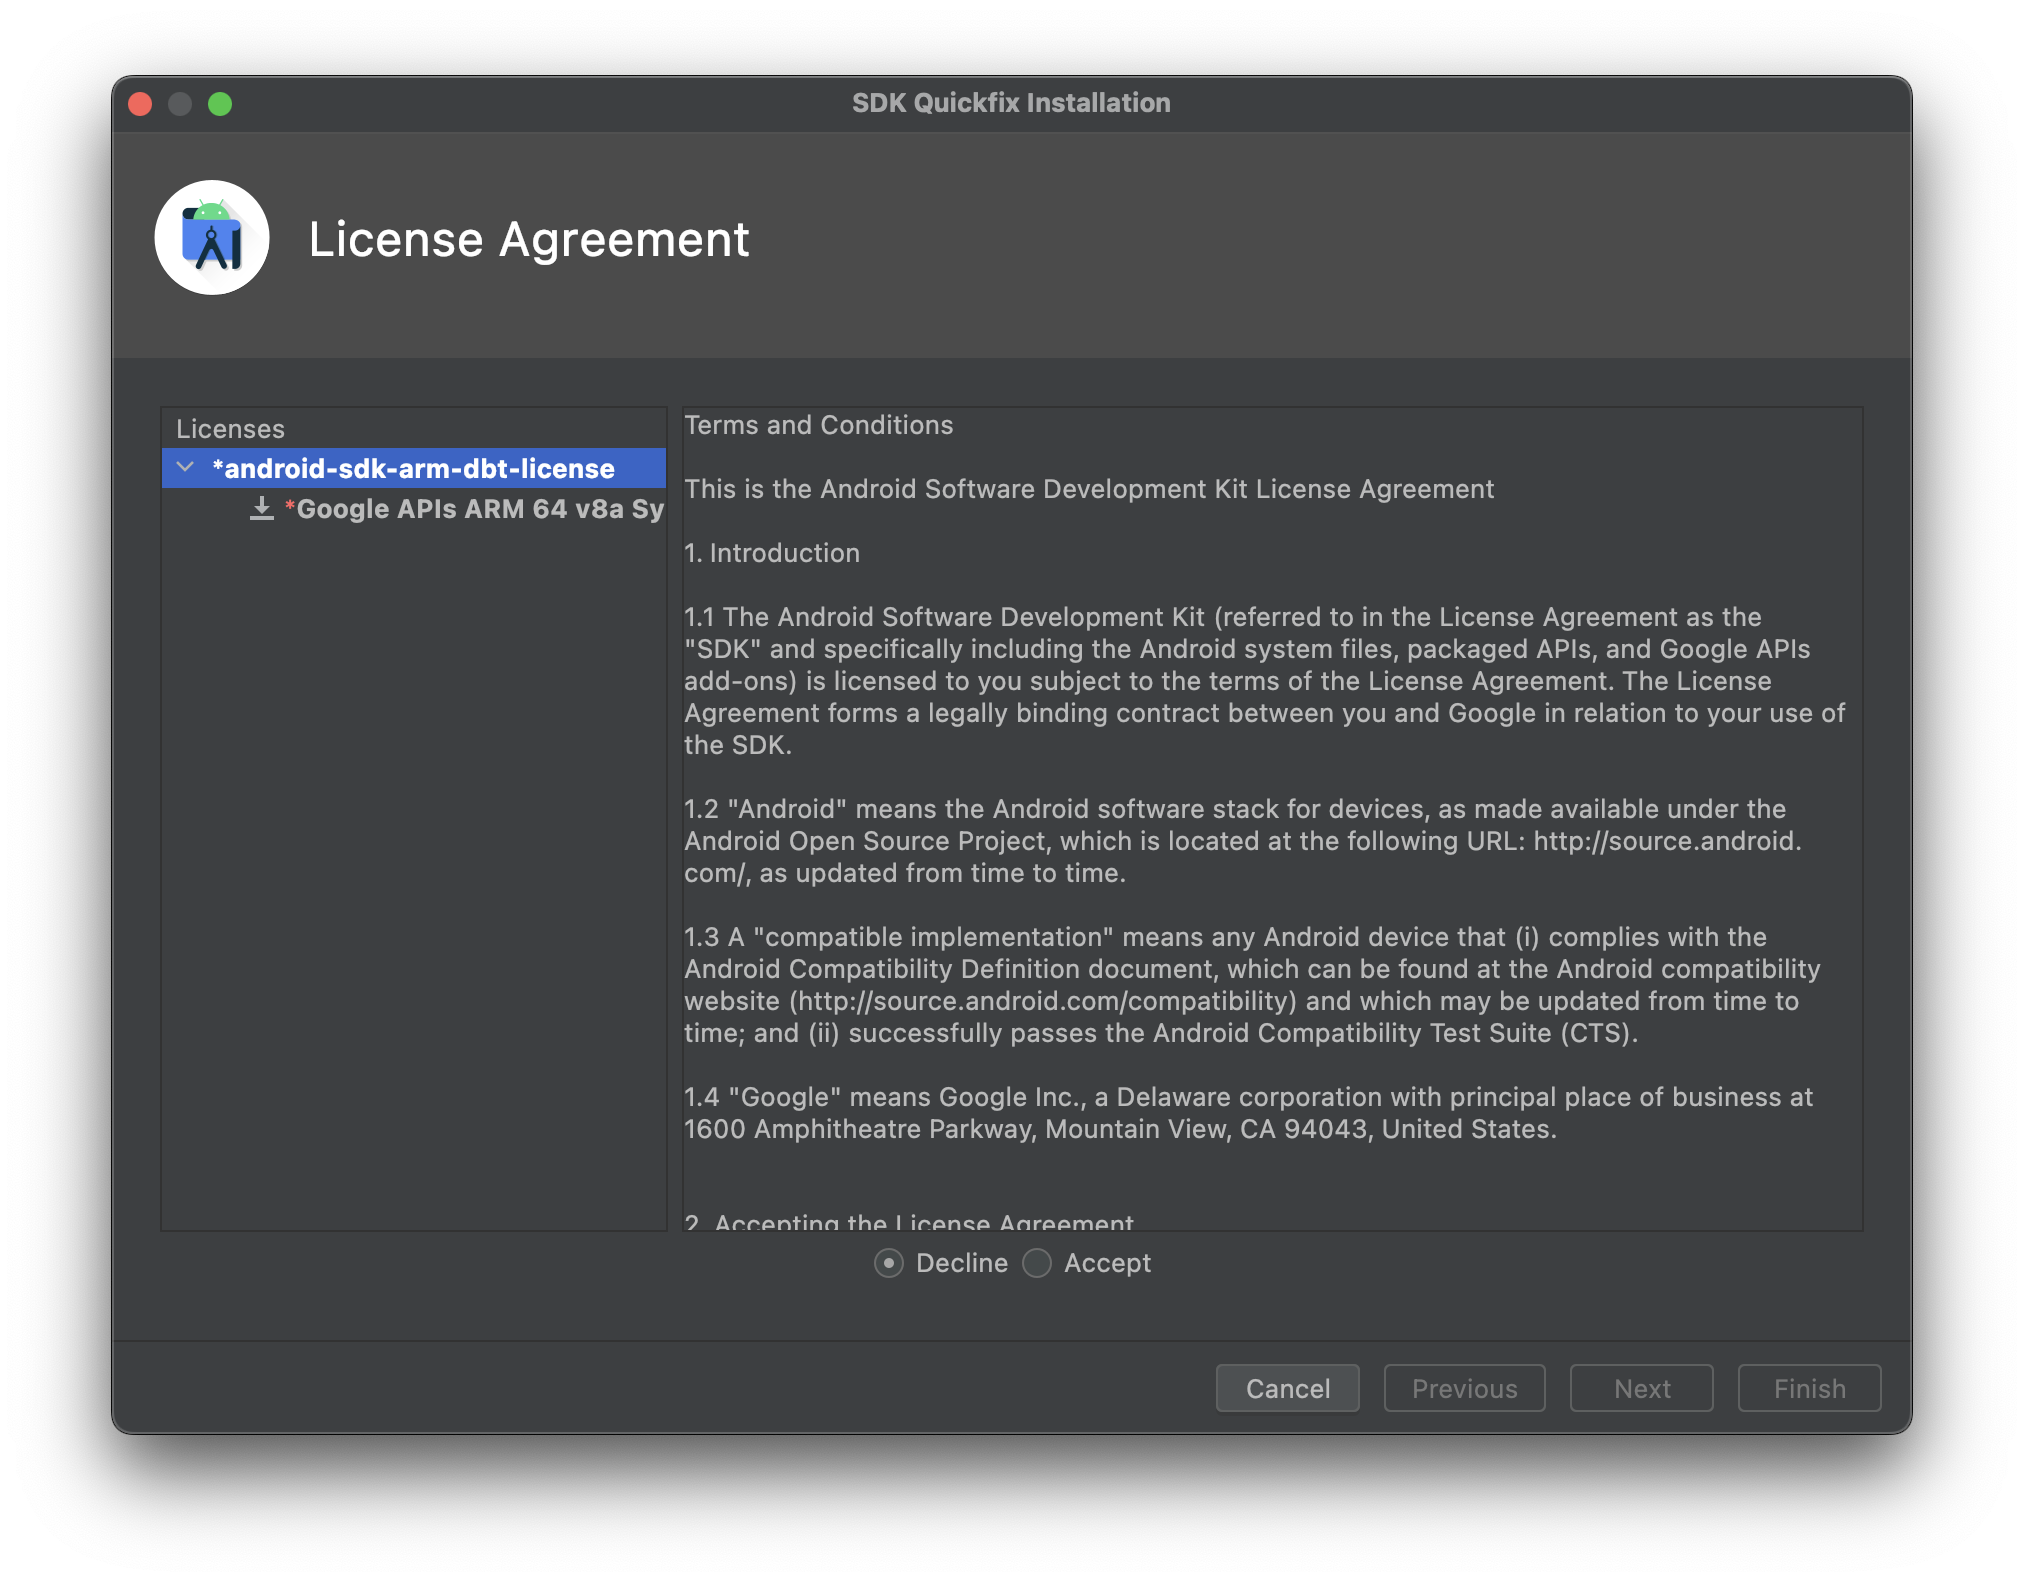
You must agree to the license agreement to install the operating system. Choose Accept then click Next to continue.
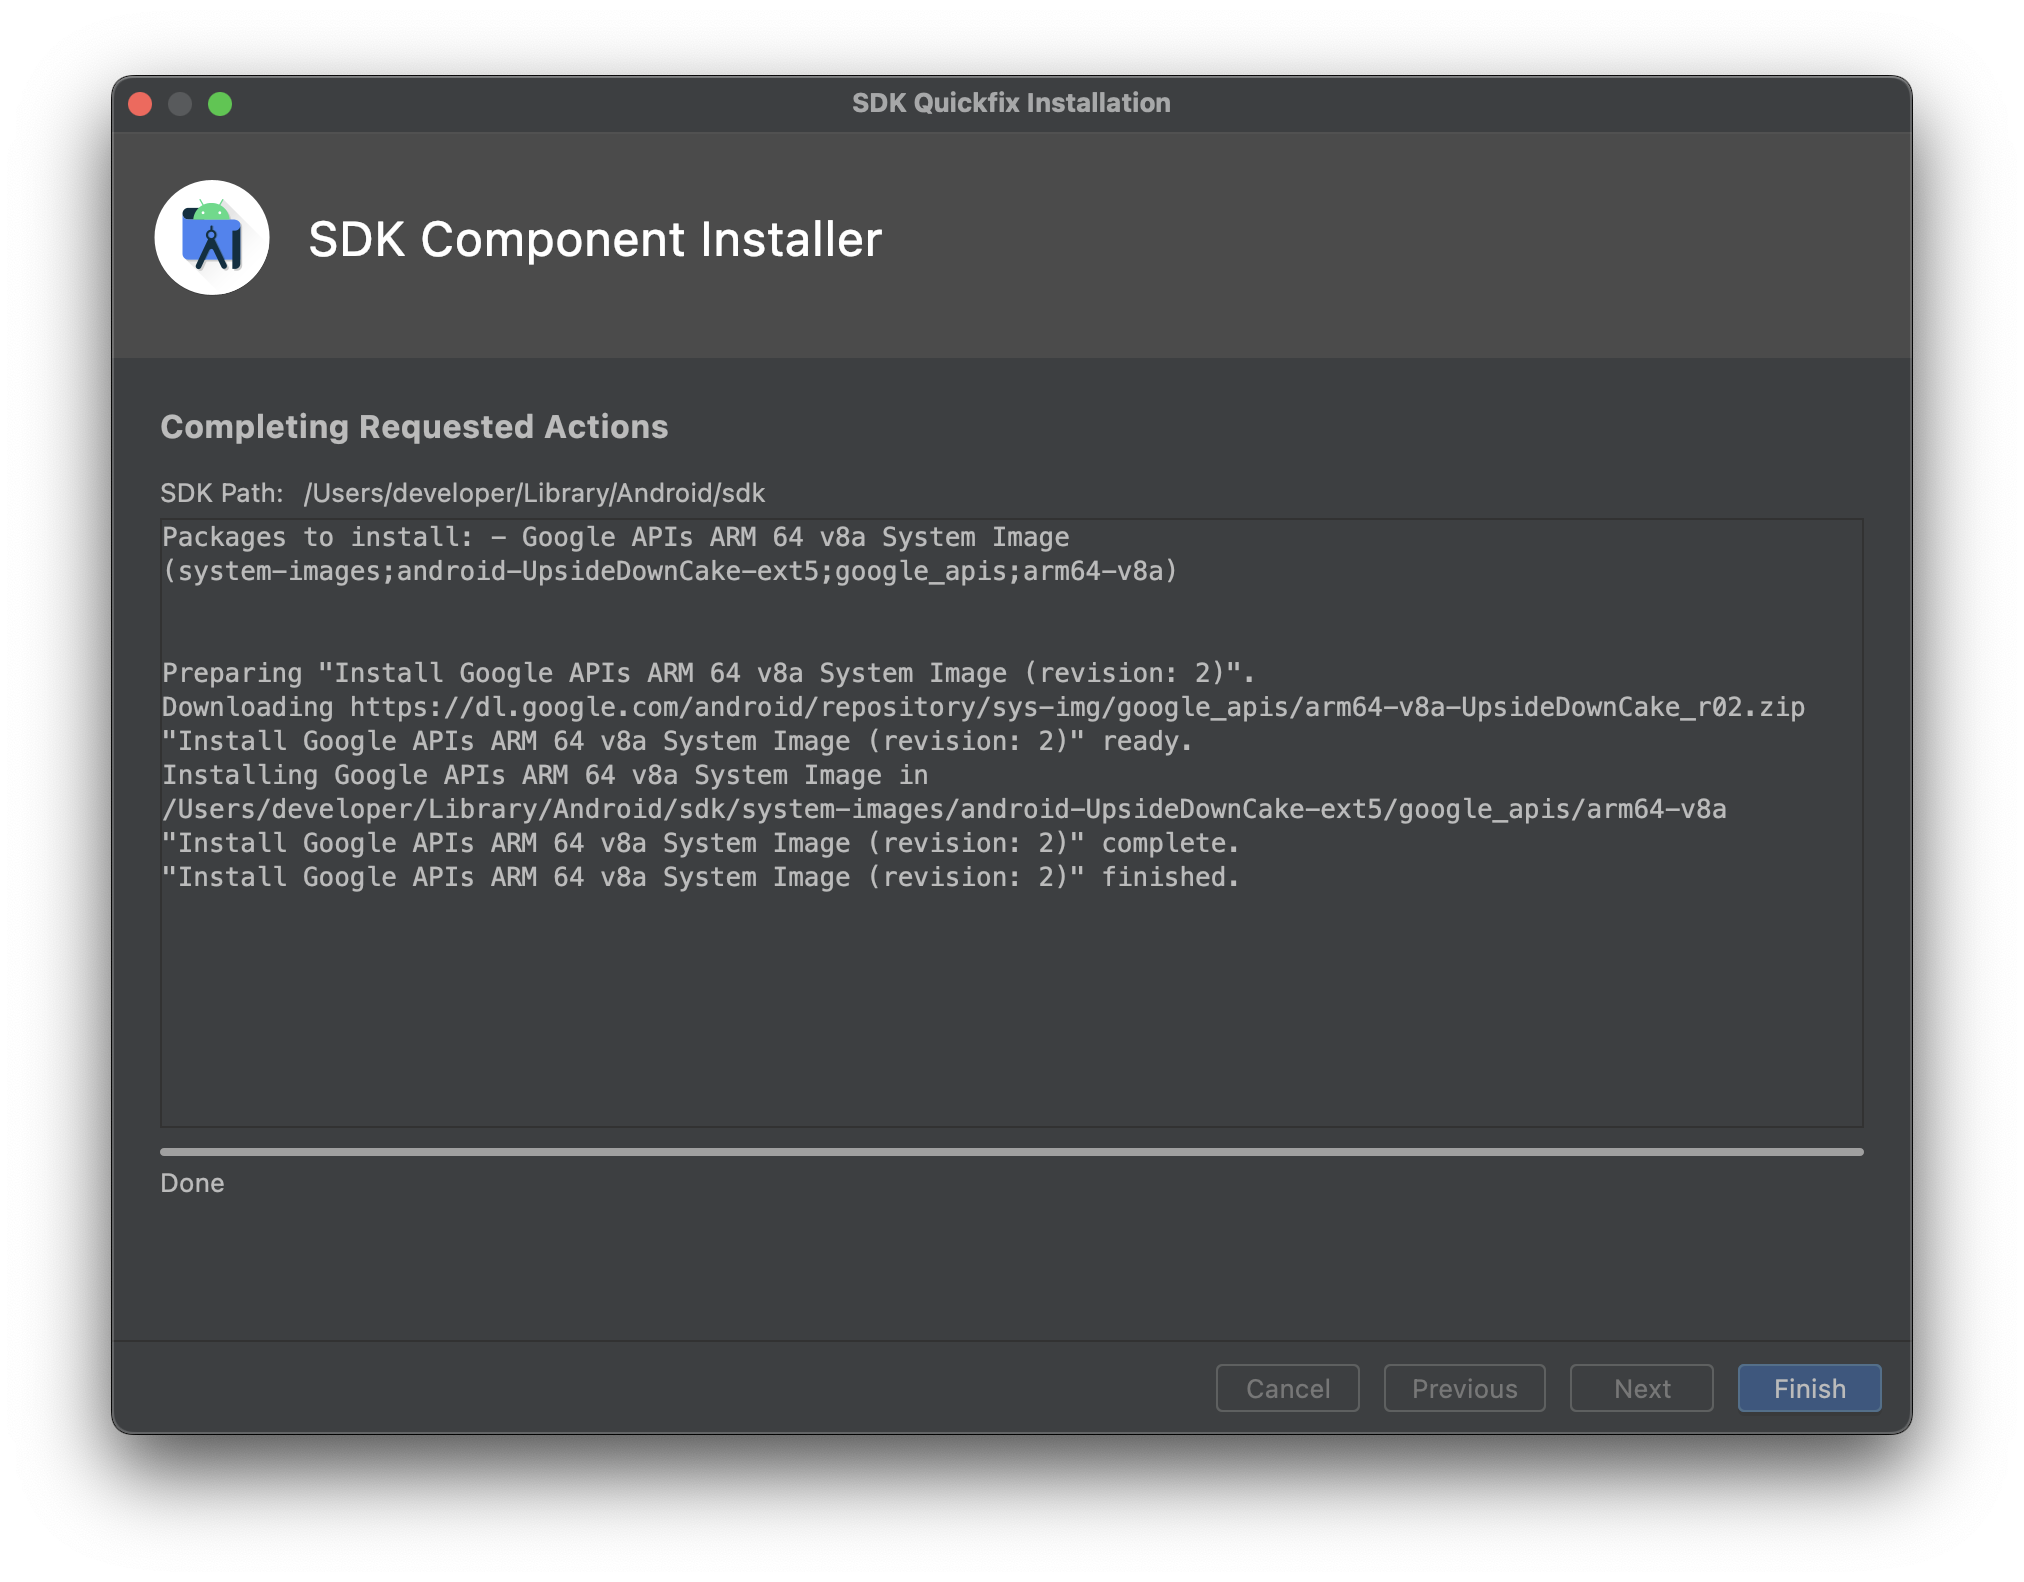
Once the install is complete, click Finish to close the dialog
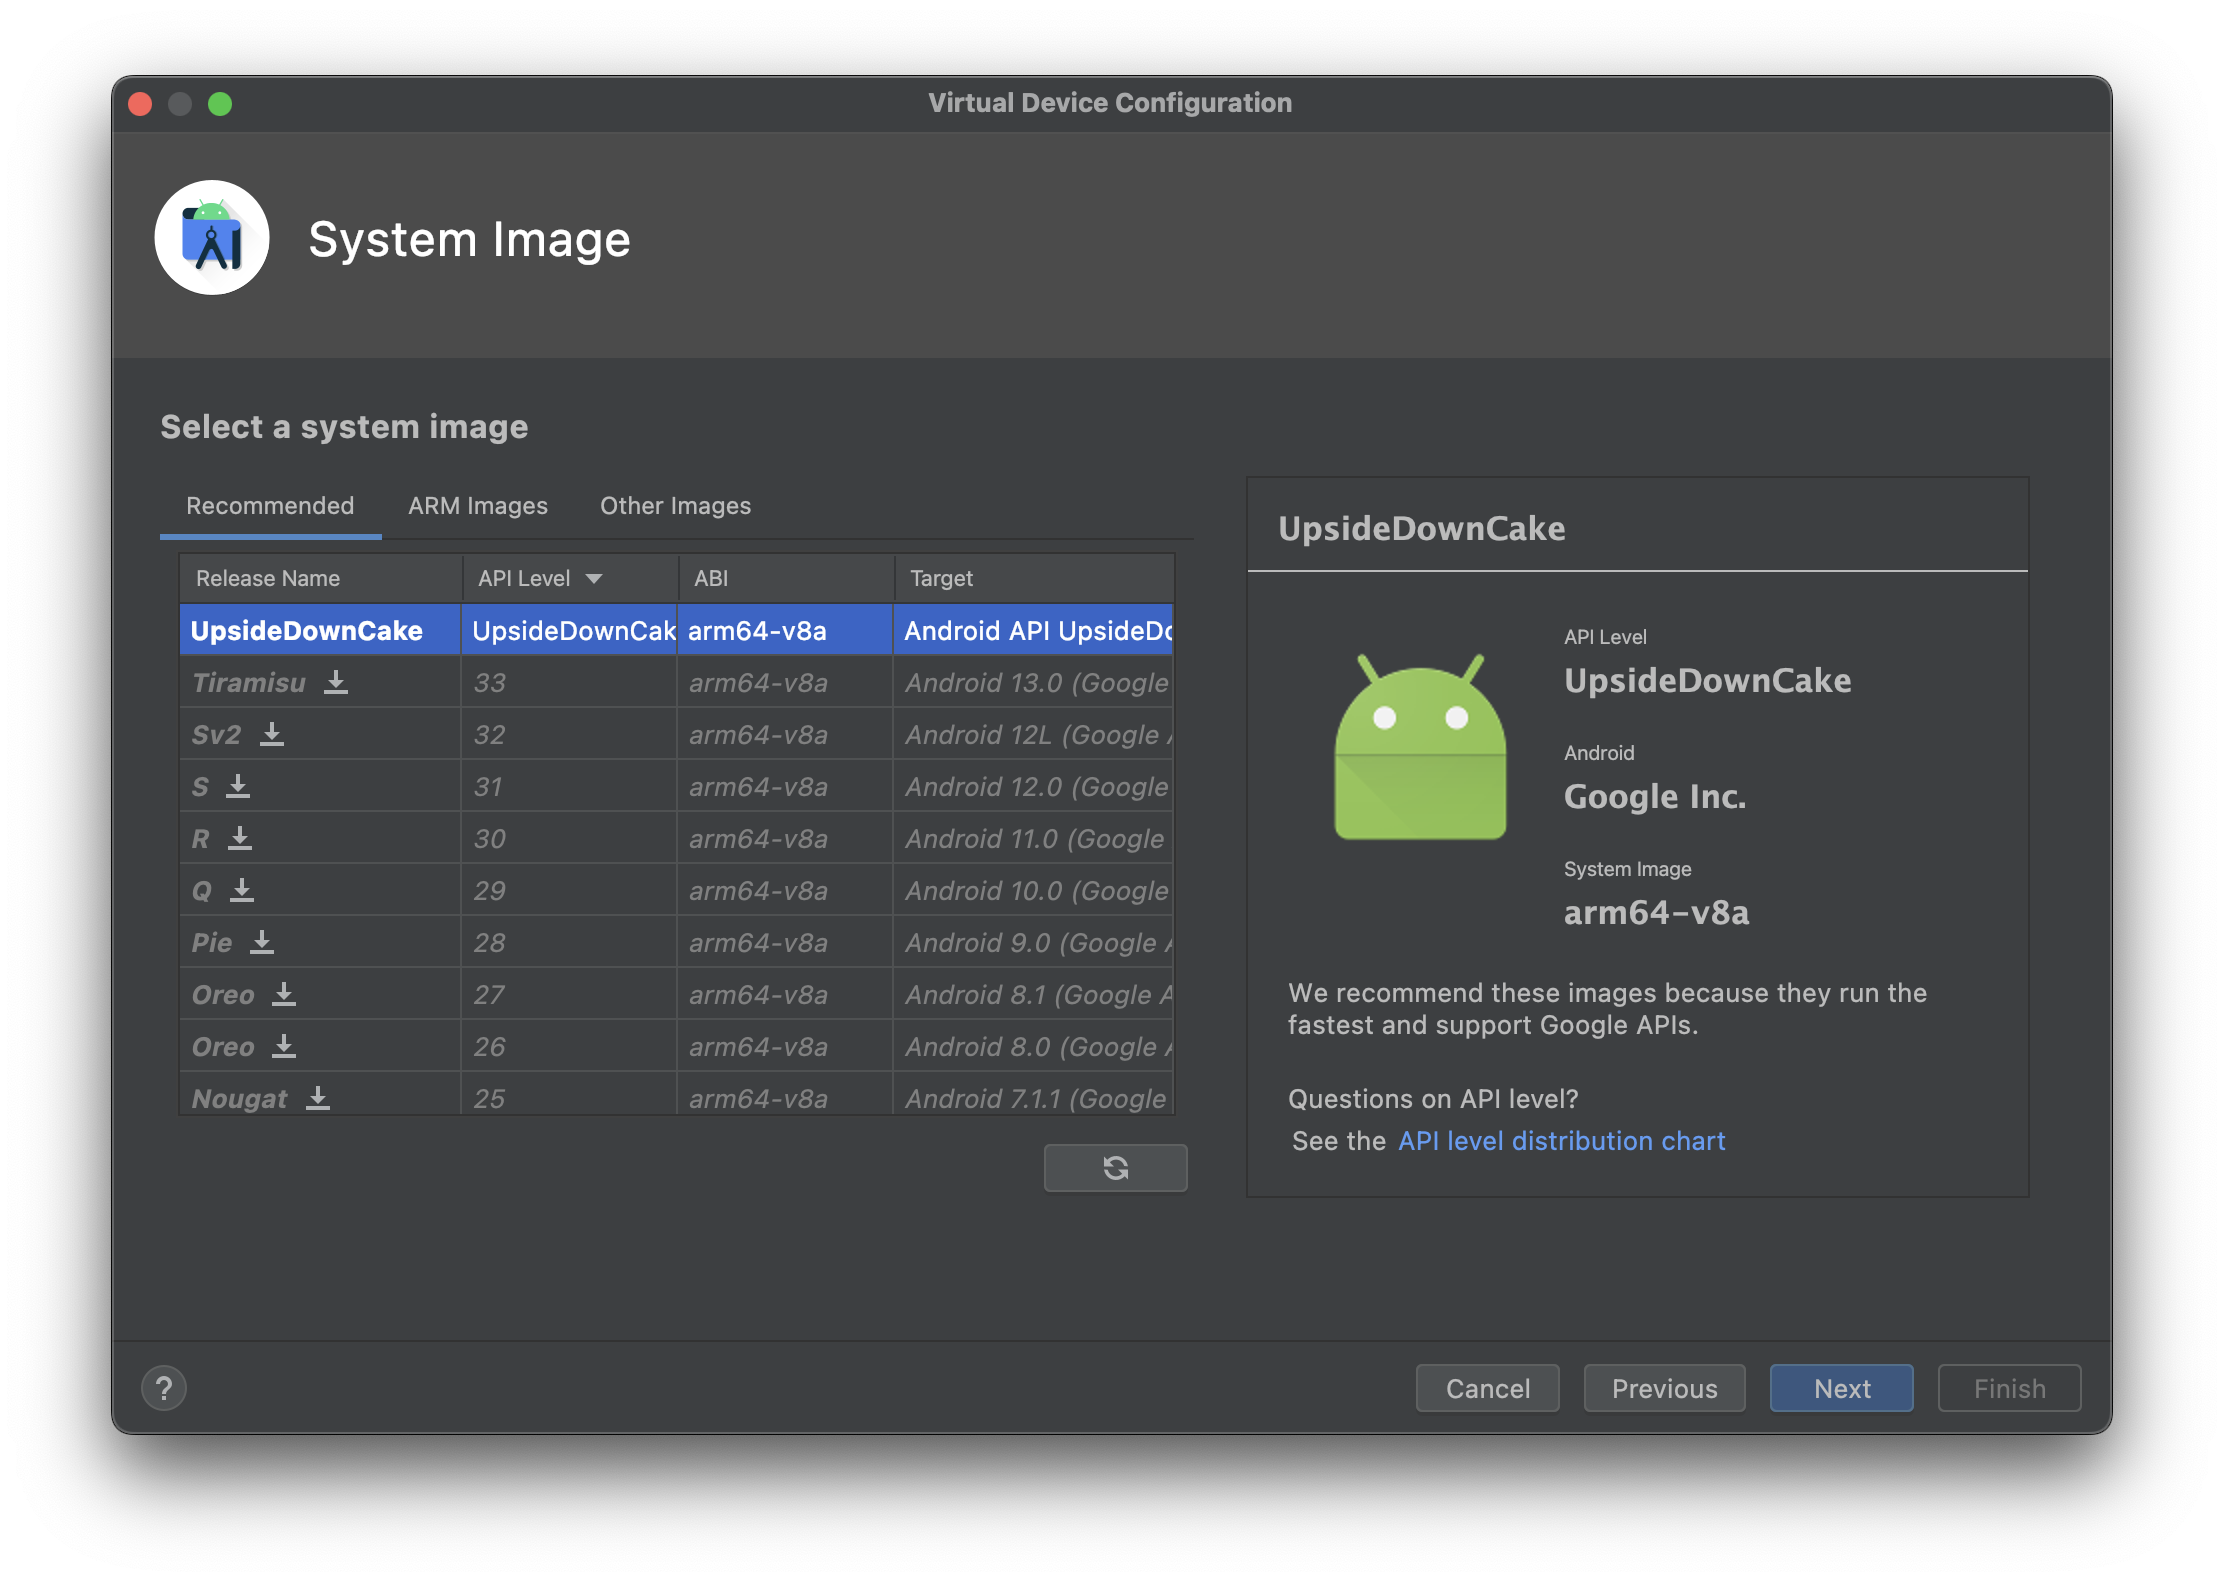
You can now use the System Image you installed on the emulator. Click Next to proceed.
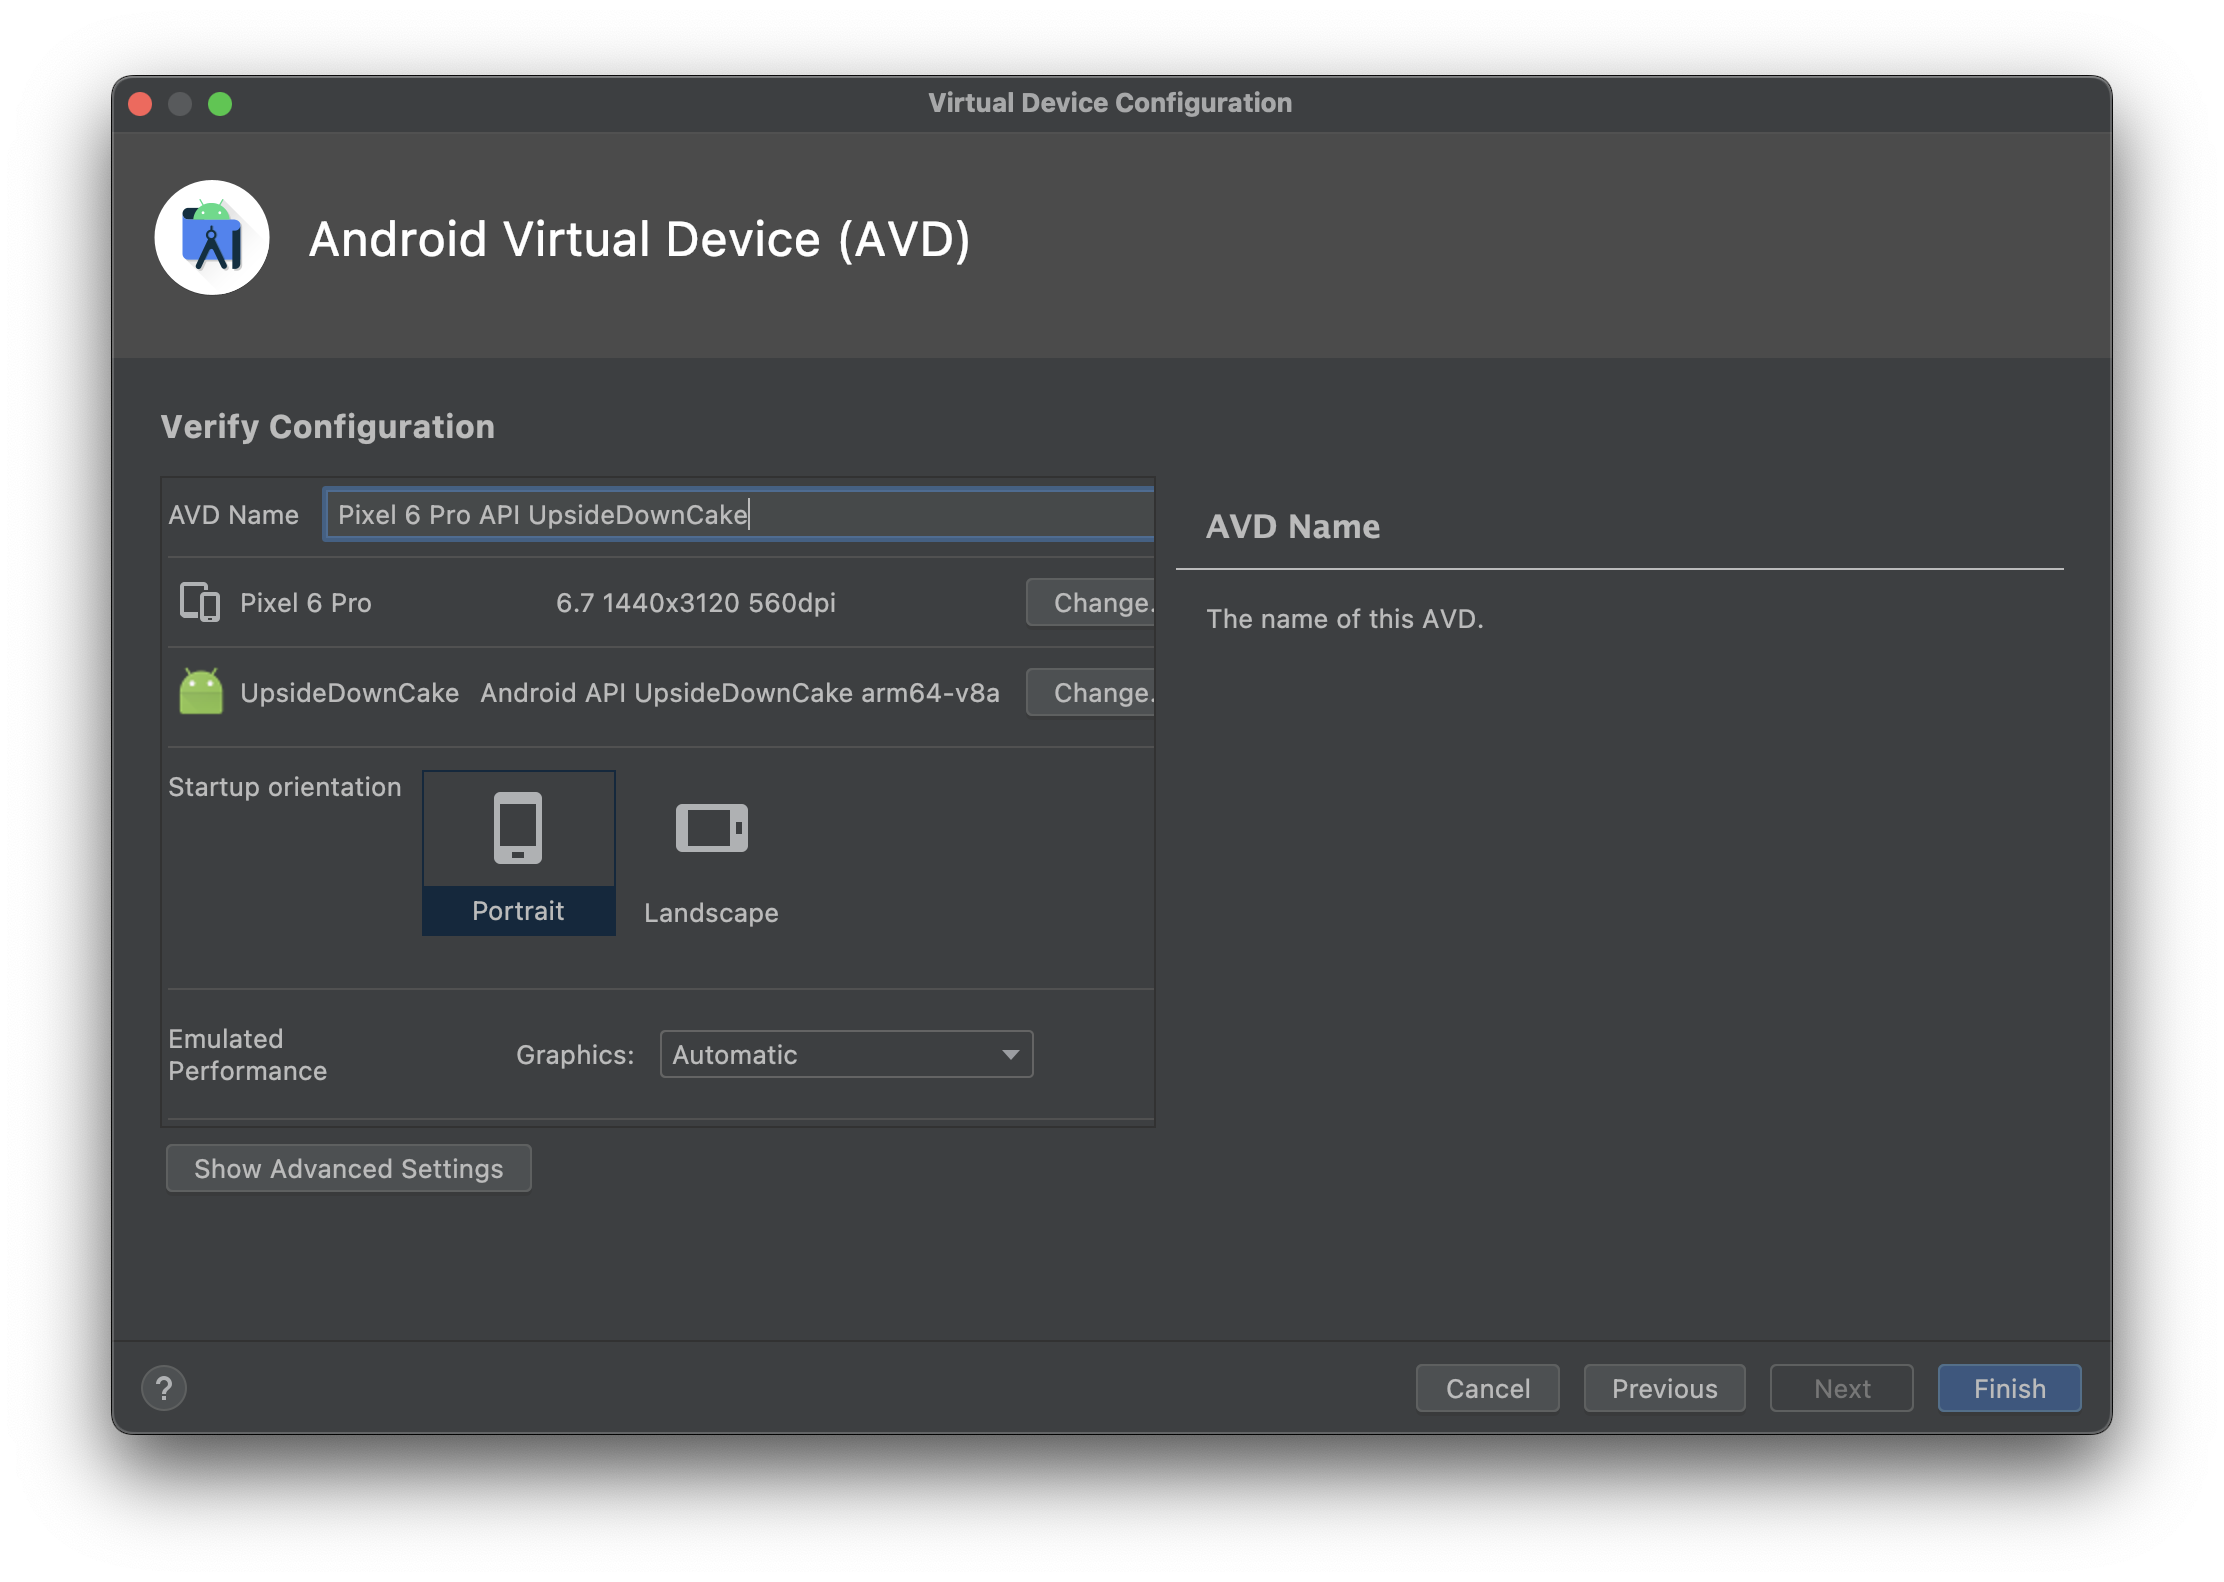
If you’d like you can name your AVD (Android Virtual Device) or you can leave it with the default name. Click Finish to create the emulator.
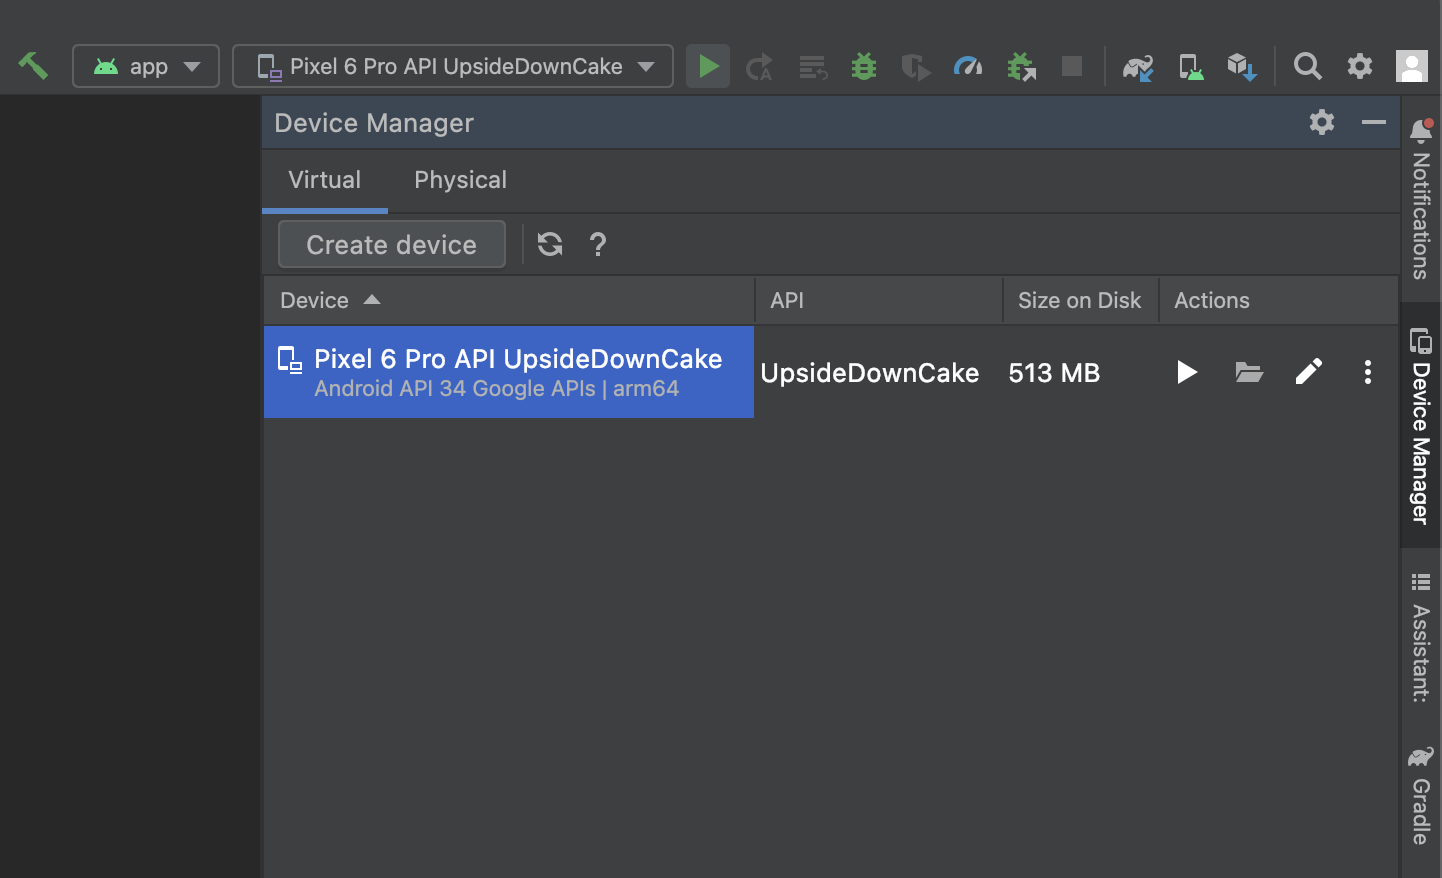
Once the emulator is installed, you can click the ▶ icon to build and run your project on the Android Virtual Device.